To add an Avi-on device, you first need an Avi-on Account.
Connect your Avi-on compatible device to a power source and stand nearby. The app works only when your Avi-on compatible device is powered and within about 100 feet of your phone or tablet.
The device is powered and ready to be added if the blue LED light is double flashing.
Note: The GE Outdoor Switch does not have an LED indicator.
If the blue LED is either a solid color or turned off, then the Avi-on device has already been registered to another account. If you do not have access to that account to remove it from the app, or the device is newly purchased, you will need to perform a device reset, prior to adding.
What’s Next?
Next, you will register an available Avi-on device and add the device to your account by pressing the “Add Device” or “+” button on the Avi-on App. If additional devices are in range, you will be able to add them to your account one at a time.
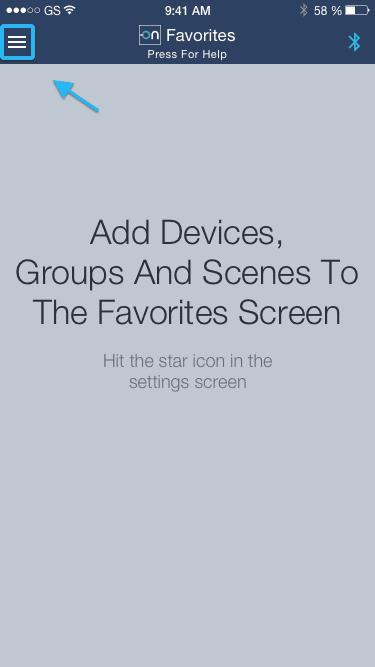
After logging in to your Avi-on Account and completing the tour, navigate to the Devices screen. You can easily navigate to the Devices menu through the app drawer. To access the app drawer, press the “three horizontal lines” in the upper left hand corner of the app screen. Note that these three lines are in the same location on many other screens within the app as well, so you can always press them to return to the drawer.
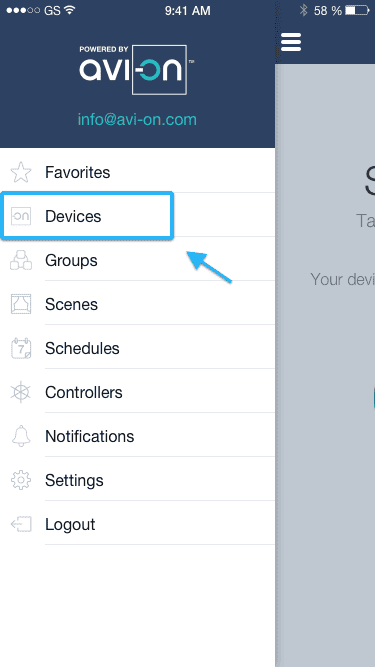
Once in the app drawer, you will see the “Devices” tab along with other new features covered in separate FAQs. Click on Devices.
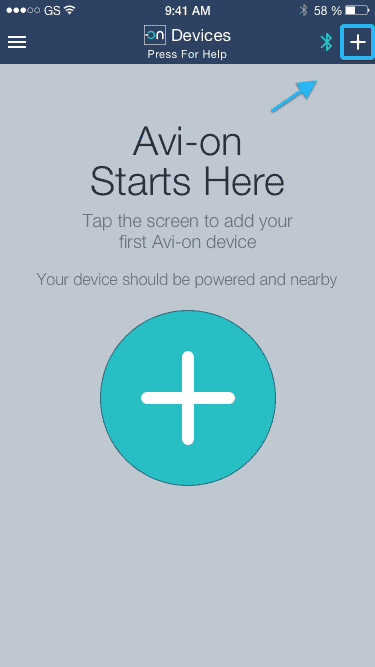
Once in the Devices menu, tap the “+” button in the center or upper right hand corner to search for available devices.
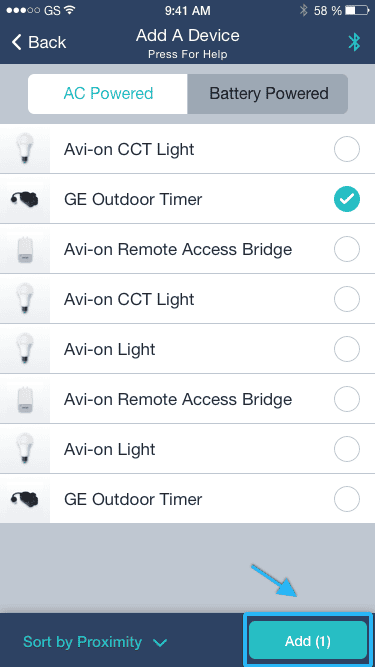
Available devices in range of the smartphone or tablet you are connecting with will be shown. Select the devices you wish to add by tapping them. Then tap “Done” in the upper right hand corner.

After adding a device, you will be returned to the “Devices” menu where you can see a list of all Avi-on devices that have been added to your account. Although Avi-on controllers can be added from the Devices screen, they will not appear in the list of devices. Both Groups and Controllers will be shown in their own respective menus that can be accessed through the app drawer.
Once you have claimed one or more devices, they will appear on your Dashboard.
To name or assign a picture to a newly claimed device:
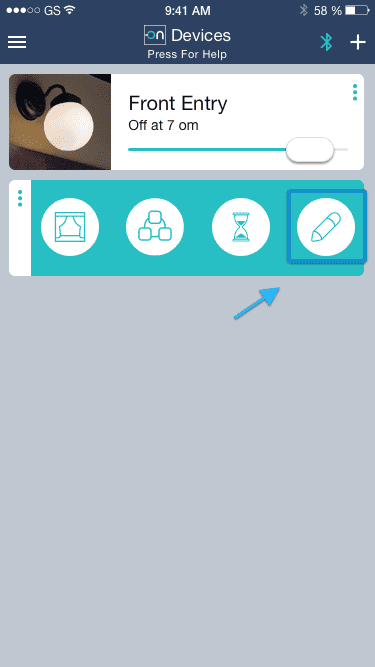
Tap the “three vertical dots” to the right of the device.

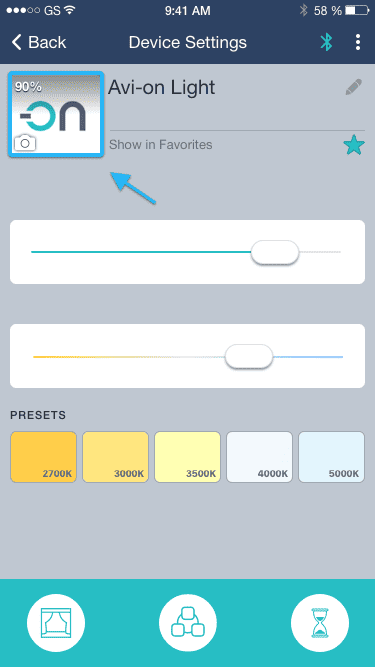
Tap the “pencil” icon on the right.
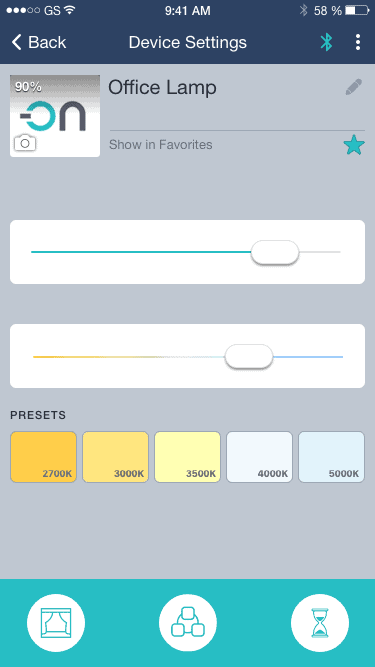
To name this device or assign/change it’s picture:
Tap the “photo” icon to edit “picture“
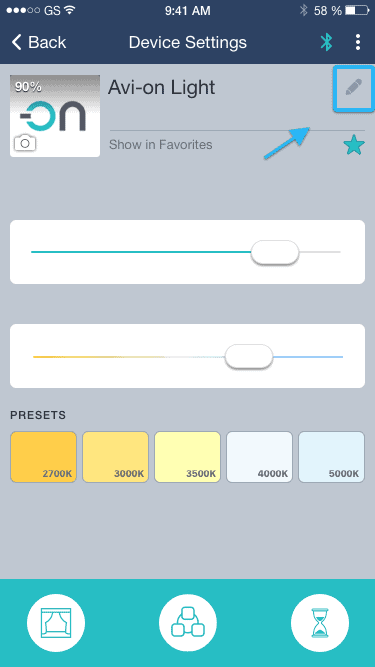
Tap the “pencil” icon to edit “name.”
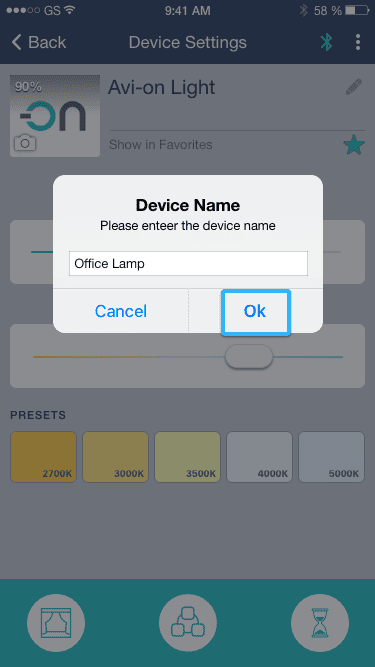
When editing the device’s name, simply type the name you’d prefer in place of it’s currently assigned name and select “OK.”
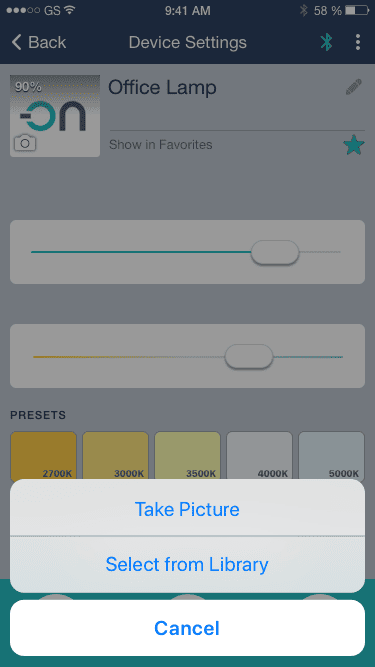
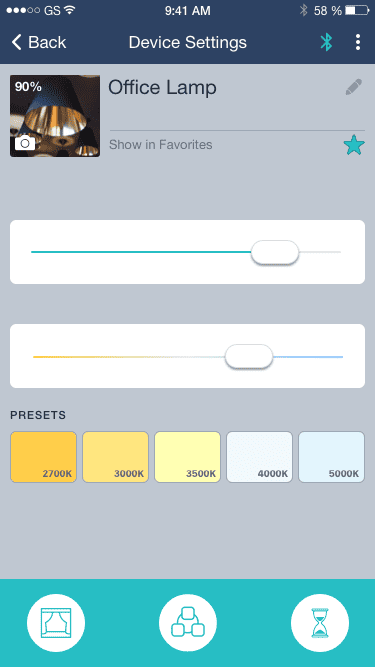
When editing the device’s picture, choose whether you would like to take a picture of the device using your smartphone or tablet, or if you already have a picture, from your photo library.
Adding Devices Video
Adding Sensors Video
The Bluetooth® word mark and logos are registered trademarks owned by Bluetooth SIG, Inc. and any use of such marks by Avi-on Labs, Inc. is under license. Other trademarks and trade names are those of their respective owners.